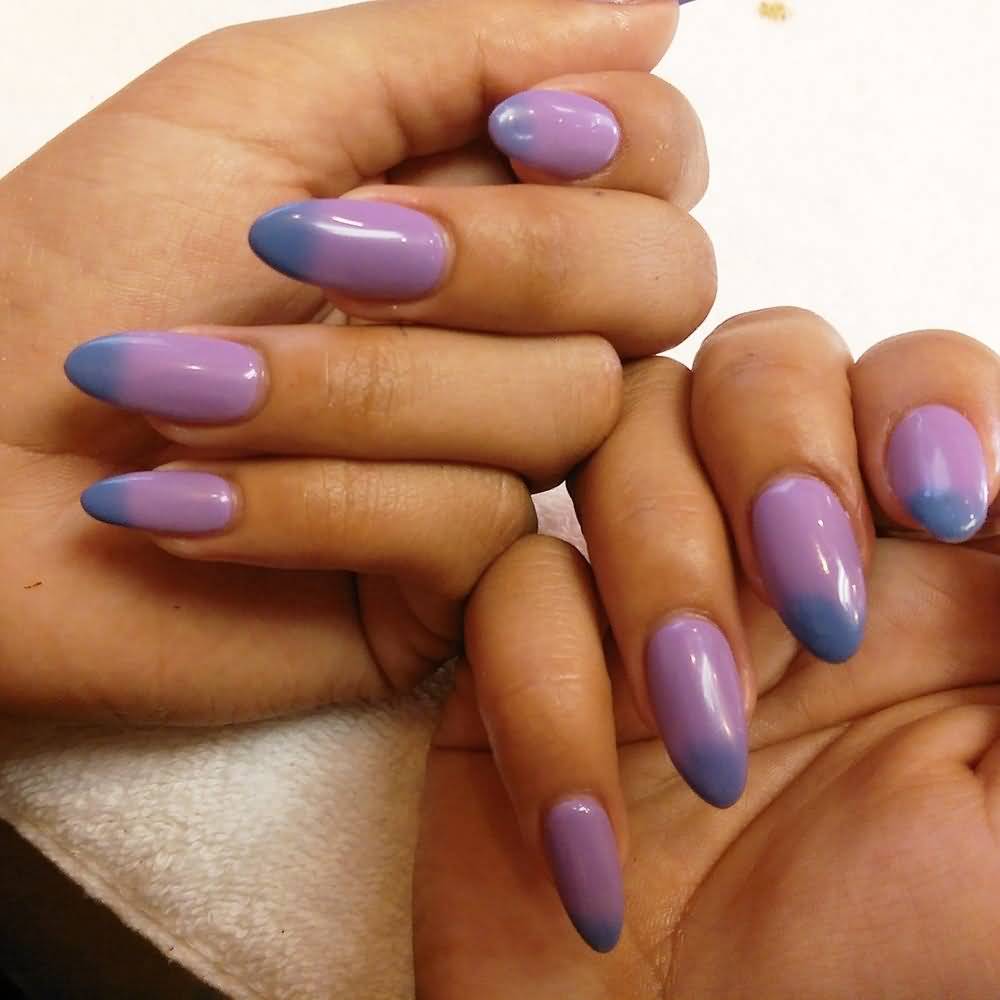
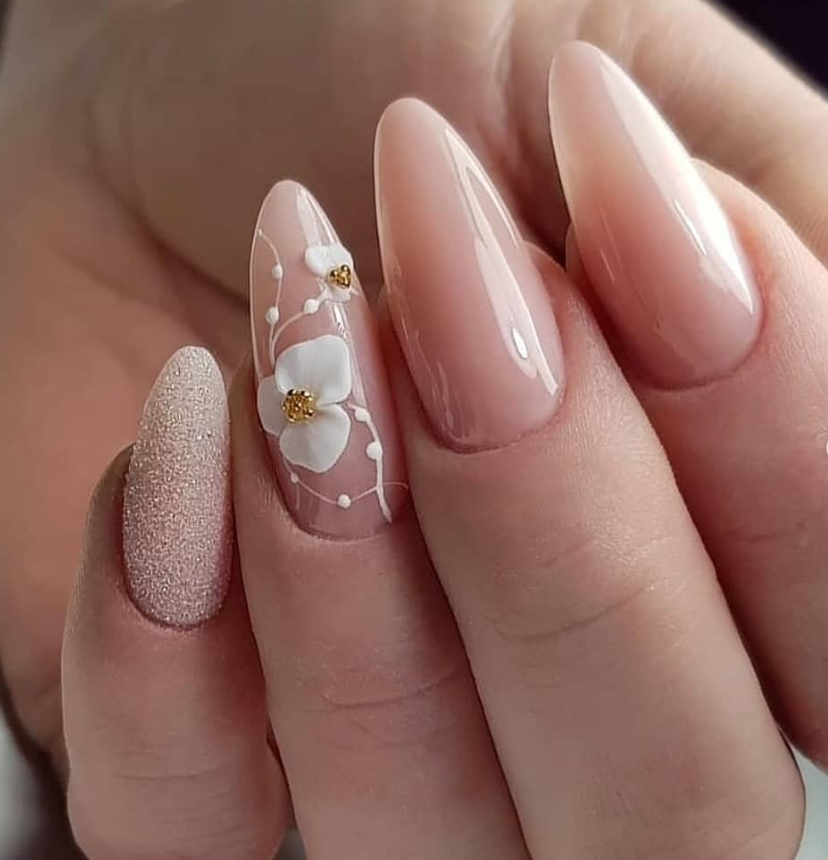
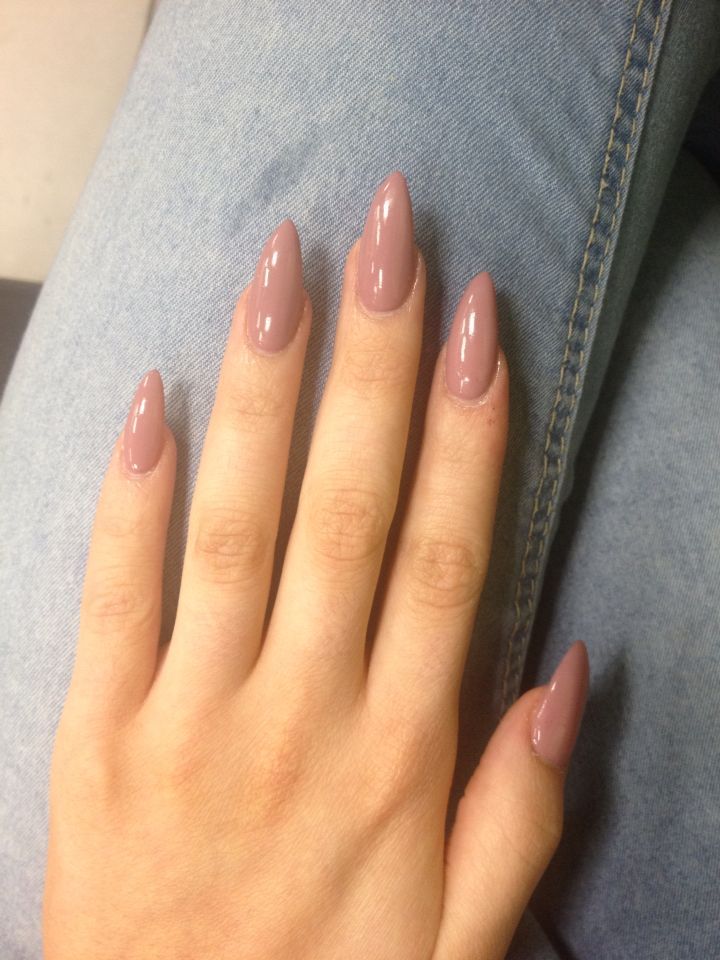
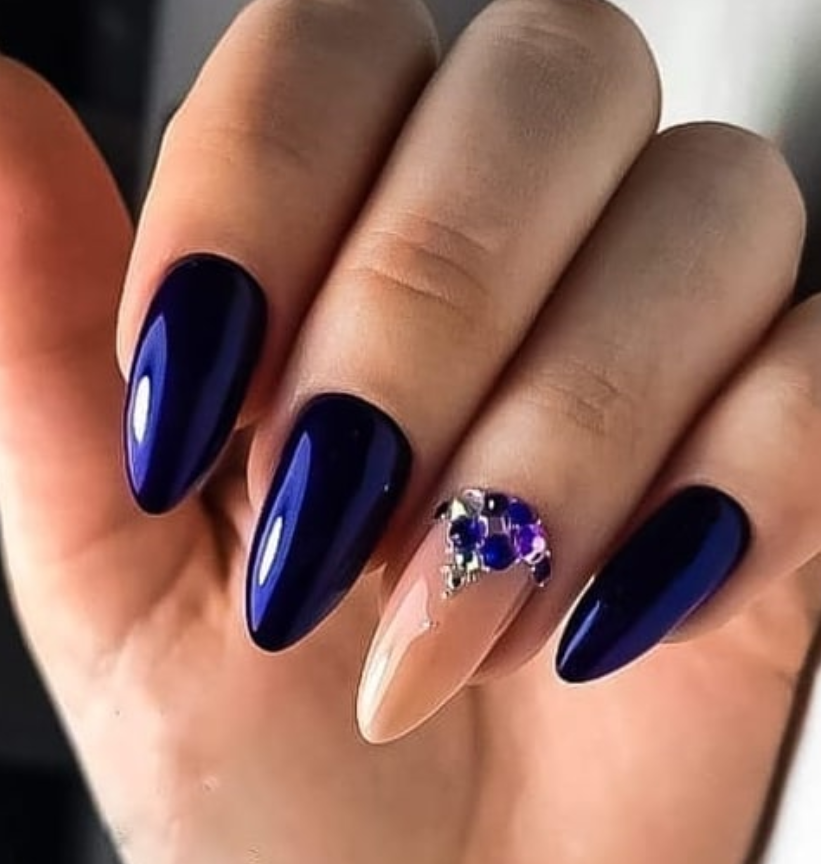
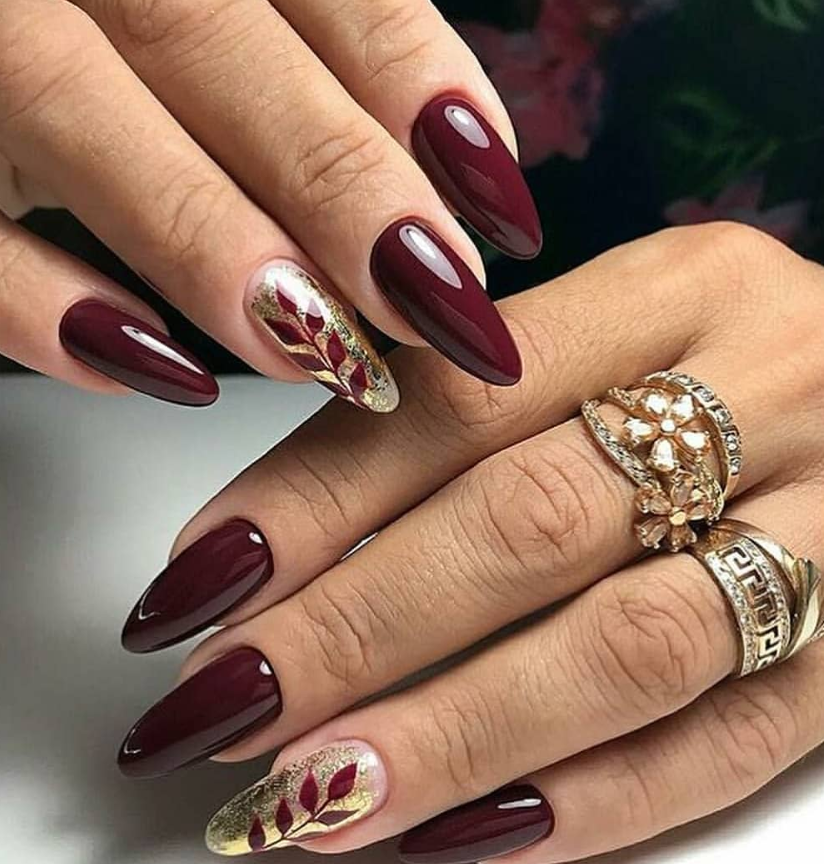
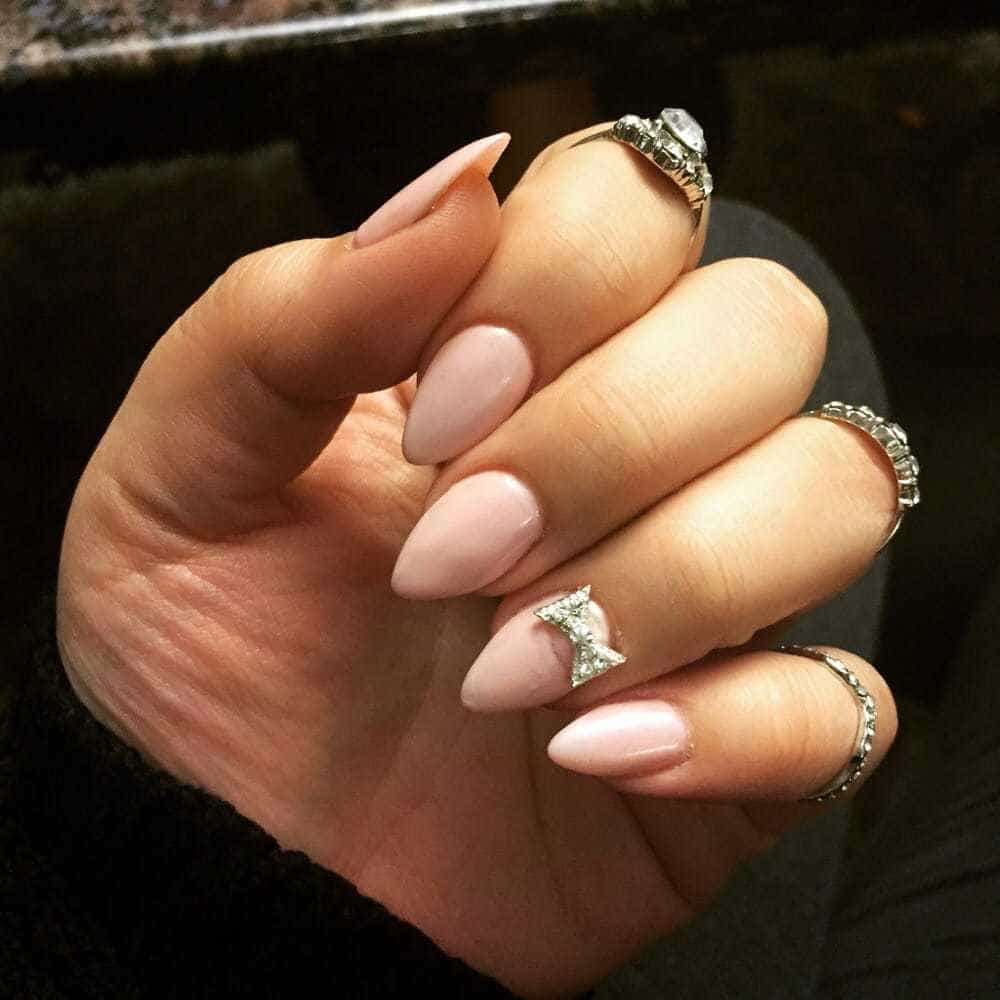
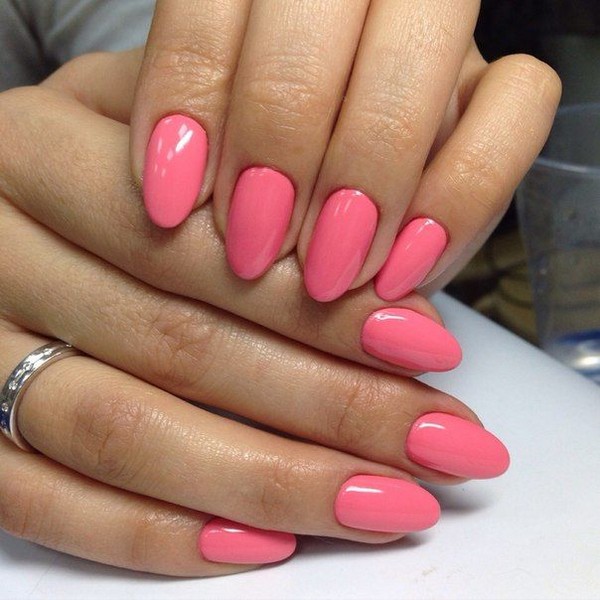
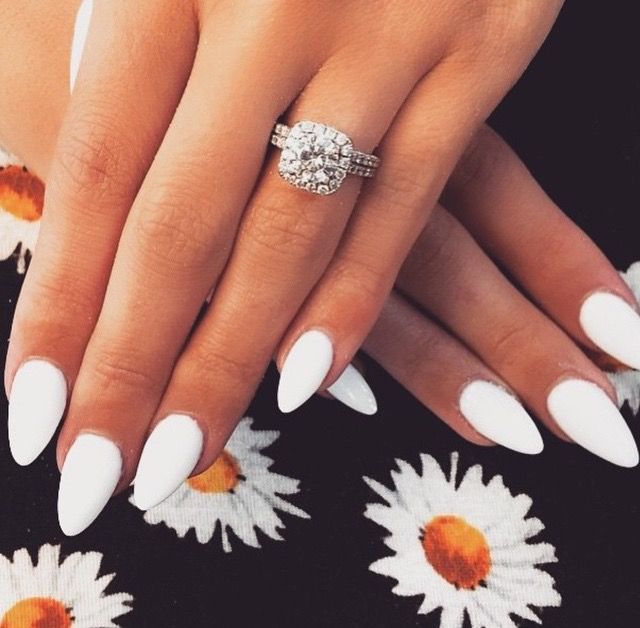
acrylic nails almond shape
600pc Almond Nail Shape Oval Stiletto Full Cover False Tips Fingernail Manicure Acrylic gel DIY Pointy fake nails long press on nails clear MelineyNailArt 5 out of 5 stars (1,110)Having almond-shaped acrylic nails means they will become a little thinner as they reach the top of the nail. No, it won’t look like a sharp dot; it will just round off right at the tip. Basic information about almonds is that the nail is thin on the sides and wide at the base up to a peak, reminiscent of a real almond.
acrylic nails almond shape. You will need about 3 1/2″ to 4″ of thick, or about half a pint (3/4 cup) for the sides. I used 14″ deep pectin nails and 6" thick mica.
Once you have the three (3) pieces in place, shape the nail with a thin line around the back. You then have two ends. The front is the standard size of the nail. Here you are also choosing to have a small, rounded toe. I chose to have my front a slightly wider than the standard 16″. The center of my nail is longer than this.
Lay the nail flat on the surface of the board. Place a finger hole into it so you can insert the nail in the hole you desire. I preferred to use a piece of cutlery from a local store. Your nail should be fairly flat and will take up less space than the other designs on the bottom of your nail. It's good to have a point around the end of your nail to take the pressure off of it. I also found I was pretty good at placing the nail on anything not close to the board.
You will need a large square toe nail and a large size hole cut through the right side of your left toe to fill the hole. As you can see, in the photo for you, you are removing your nail and cutting off any exposed skin and the top of your left heel. I


Comments
Post a Comment